
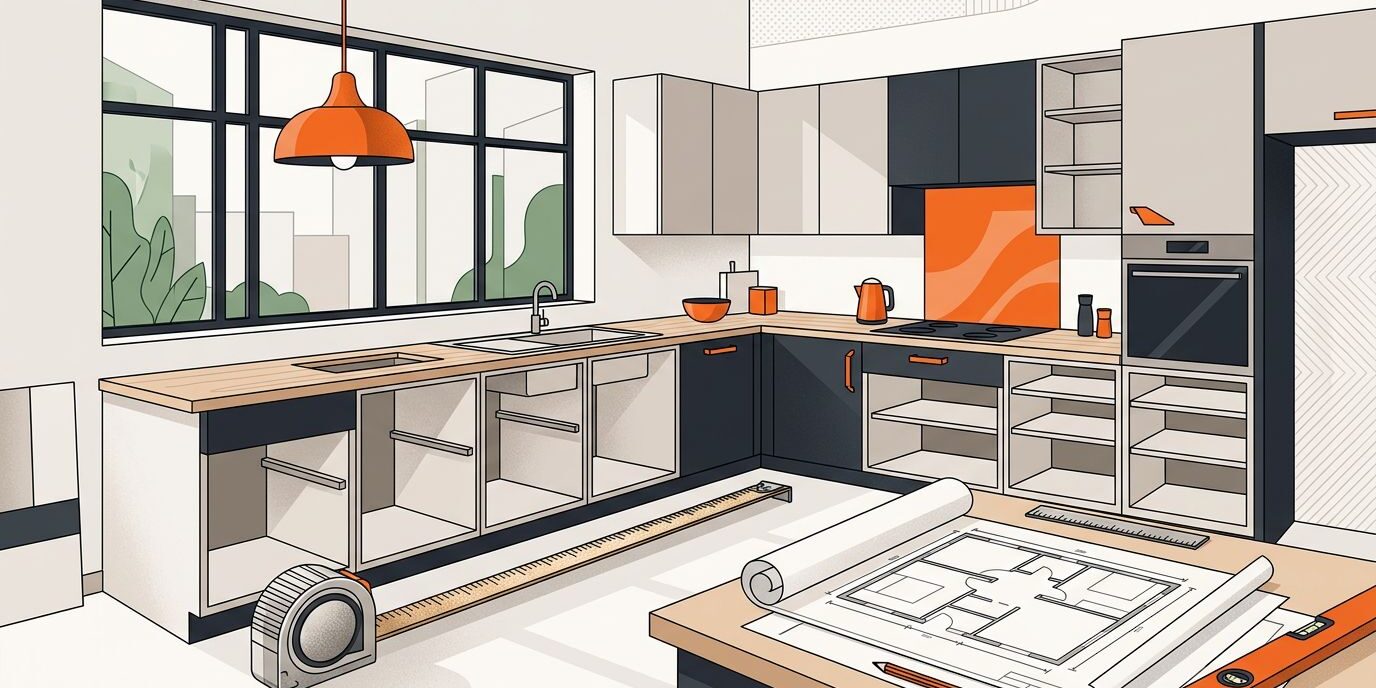
A single wrong number can leave you with cabinets that do not fit, blocked doors, or expensive changes during installation. Accuracy matters at every wall, corner, opening, and appliance location.
You don’t need complicated equipment to get started. Accurate cabinet measurements require a clear sketch, careful notes, and repeated checks. We recommend measuring the room before ordering, then having the final plan checked by a cabinet designer or installer.
Key Takeaways
- Measure each wall at floor level, countertop height, and near the ceiling, then record the smallest usable measurement.
- Check ceiling height, soffits, trim, corners, windows, doors, and door swings before selecting cabinet sizes.
- Use appliance installation specifications to confirm openings, clearances, ventilation, and utility locations.
- Draw the complete kitchen layout on graph paper and account for fillers, panels, corner cabinets, toe kicks, molding, and countertop overhang.
- Measure twice and verify the final plan with a cabinet designer or installer before ordering.
Prepare the Right Tools Before Measuring
Good cabinet measurements start with a clean, organized process. Clear small appliances, countertop items, and anything blocking the walls. If old cabinets will stay in place during planning, measure the walls and openings instead of relying on existing cabinet dimensions.
Gather these basic tools:
- A 25-foot tape measure with clear markings.
- A pencil, notebook, and graph paper.
- A 4-foot level for checking walls and floors.
- A step ladder for ceiling and soffit measurements.
- A flashlight for inspecting corners, plumbing, and electrical areas.
- A camera or phone for recording obstructions and utility connections.
A laser measure can help with long walls, but we still recommend checking important numbers with a tape measure. Record every measurement in inches. Avoid writing “10 feet 4 inches” in one place and “124 inches” in another.
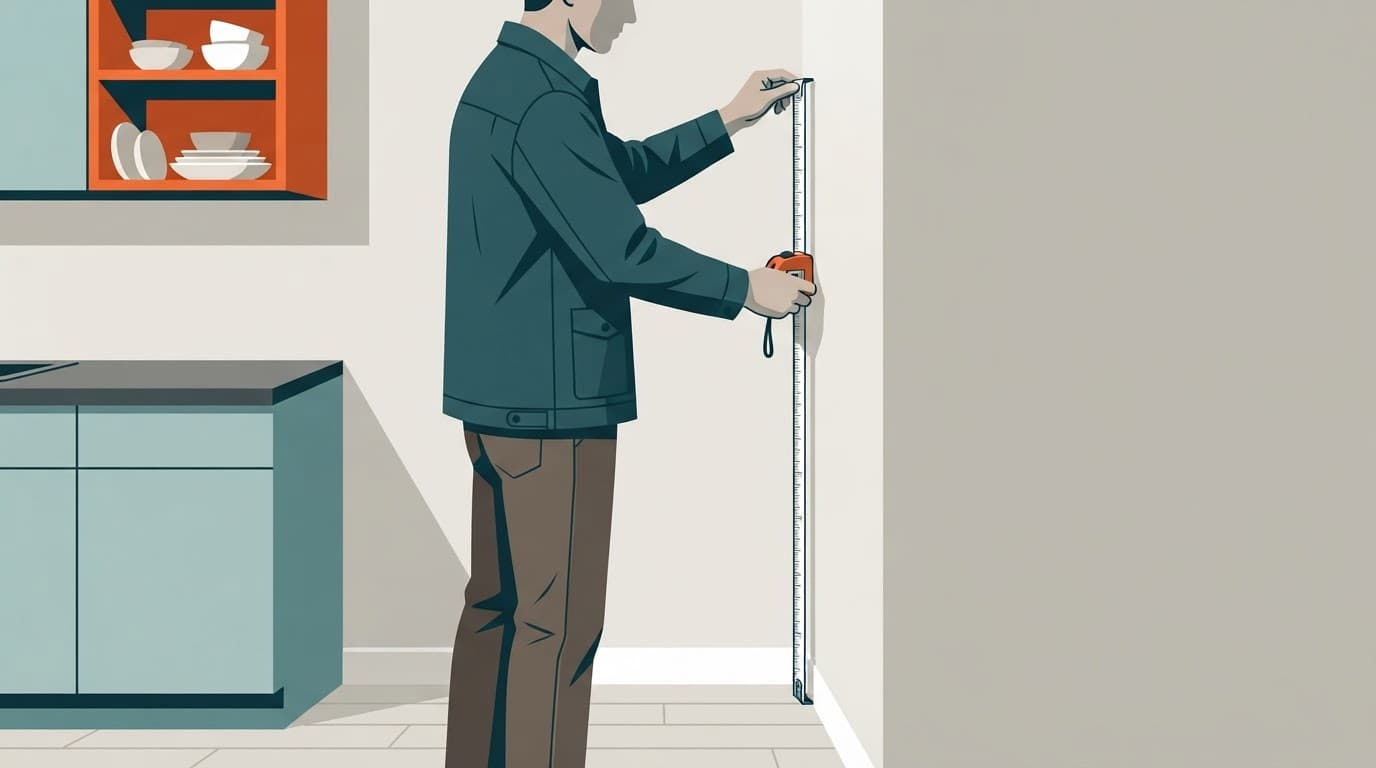
Write the date on your sketch and label each wall. Use names such as Wall A, Wall B, and Wall C. Take a quick photo of each wall after recording its measurements. Photos can help later when reviewing outlets, trim, vents, and plumbing.
How to Measure Kitchen Cabinets Without Guesswork
Start at a fixed corner and move around the room in one direction. Measure each cabinet run separately. Don’t measure the entire perimeter and assume the total will divide perfectly between walls.
Measure each wall at several points
Use this step-by-step process:
- Measure the wall from corner to corner at floor level.
- Measure again around countertop height, which is about 36 inches from the finished floor.
- Take a third measurement near the ceiling or soffit.
- Record the smallest usable measurement when a wall bows or the corners are not square.
The counter-height measurement helps plan base cabinets. The floor-level measurement shows whether the wall or floor changes near the toe kick. The upper measurement helps with upper cabinets and wall cabinets.
Use the wall length to plan the cabinet run, but use floor measurements to catch problems that could affect base cabinets during installation.
A wall that measures 120 inches at counter height may measure 119 inches near the floor. That difference matters when cabinets need to sit tightly against the wall. A cabinet wall-length measuring guide also recommends checking the wall at counter height instead of relying on one measurement.
Check ceiling height, soffits, and trim
Measure from the finished floor to the ceiling in at least three locations. Record the lowest height. Floors and ceilings are not always level, especially in older homes.
If the room has a soffit, measure the space available for wall cabinets:
- The height from the floor to the bottom of the soffit.
- The depth from the wall to the front edge.
- The length of the soffit.
- Any pipes, vents, or electrical items inside or beside it.
Crown molding also needs space. Measure the distance from the top of the planned wall cabinet to the ceiling. A cabinet that fits without molding may not fit once the selected trim is added.
Compare Your Measurements With Standard Cabinet Sizes
Standard kitchen cabinet sizes are helpful for planning, but they are not a substitute for room measurements. Most base cabinet boxes are about 34.5 inches high and 24 inches deep. With a countertop, the finished height is usually close to 36 inches, a standard height for many kitchens.
| Cabinet type | Common cabinet size | Planning note |
|---|---|---|
| Base cabinets | 34.5 inches high, 24 inches deep | Countertops bring the finished height close to 36 inches |
| Wall cabinets | 12 inches deep | Heights often include 30, 36, and 42 inches |
| Tall cabinets | 84, 90, or 96 inches high | Check ceiling height, soffits, and crown molding |
| Corner cabinet | Varies by design | Use the manufacturer’s corner dimensions |
Cabinet widths often come in 3-inch increments, but each manufacturer has its own sizes, fillers, panels, and corner requirements. Compare measured runs with available kitchen cabinet sizes before ordering, and verify the manufacturer’s dimensions for pantry cabinets. We review custom versus stock cabinets carefully when a kitchen design has unusual angles or limited space.
The standard depth of a cabinet doesn’t include every finished detail. Doors, drawer fronts, handles, end panels, and countertop overhang can extend beyond the cabinet box. Leave room for those parts in your kitchen layout.
Measure Windows, Doors, and Kitchen Appliances
Openings and appliances often determine where cabinets can go. A few inches can change the size of an entire cabinet run, so measure them as carefully as the walls.
For each window, record its opening dimensions. Then measure the distance from the floor to the sill, the sill to the top casing, and each wall corner to the side casing. Note whether the casing and window trim will remain, be removed, or be replaced.
Doors need similar attention. Measure the door and casing width, the distance to the nearest corner, and the direction the door swings. A cabinet placed too close to a door can interfere with the handle or block the opening.
Measure appliances before selecting cabinet widths. Use the manufacturer’s installation sheet when possible, not only the outside dimensions. Record the width, height, depth, door swing, handle depth, and required ventilation space.
- Refrigerators need room for doors, handles, hinges, and airflow. Measure the full depth with the doors and handles included.
- Ranges need the exact opening width and the correct gas or electrical connection location. Record the hood or microwave position above the range.
- Dishwashers are often planned around a 24-inch opening, but the actual space under the counter still needs to be measured.
- Ovens, microwaves, and wine refrigerators may need specific cabinet cutouts and ventilation clearances.
Mark plumbing and electrical locations, gas connections, water filters, vents, and ductwork on the drawing. Measure their distance from the nearest corner and finished floor. Never guess where a utility line runs behind a wall.
For another step by step guide to checking cabinet openings, see the step-by-step cabinet measurement guide. Appliance manufacturers’ installation requirements should still control the final opening.
Draw the Kitchen Layout Before Ordering
Graph paper makes cabinet measurements easier to understand. Choose a simple scale, such as one square for 3 inches or 6 inches. Draw each wall separately if the room has an L-shaped or U-shaped layout.
Mark the following items on your sketch:
- Wall lengths and ceiling dimensions.
- Windows, doors, and casing.
- Planned wall cabinets, appliance locations, window trim, and cabinet placement.
- Plumbing, electrical, gas, and ventilation points.
- Corners, soffits, trim, and wall returns.
- The direction of every door swing.
This sketch helps you test the kitchen design before ordering.
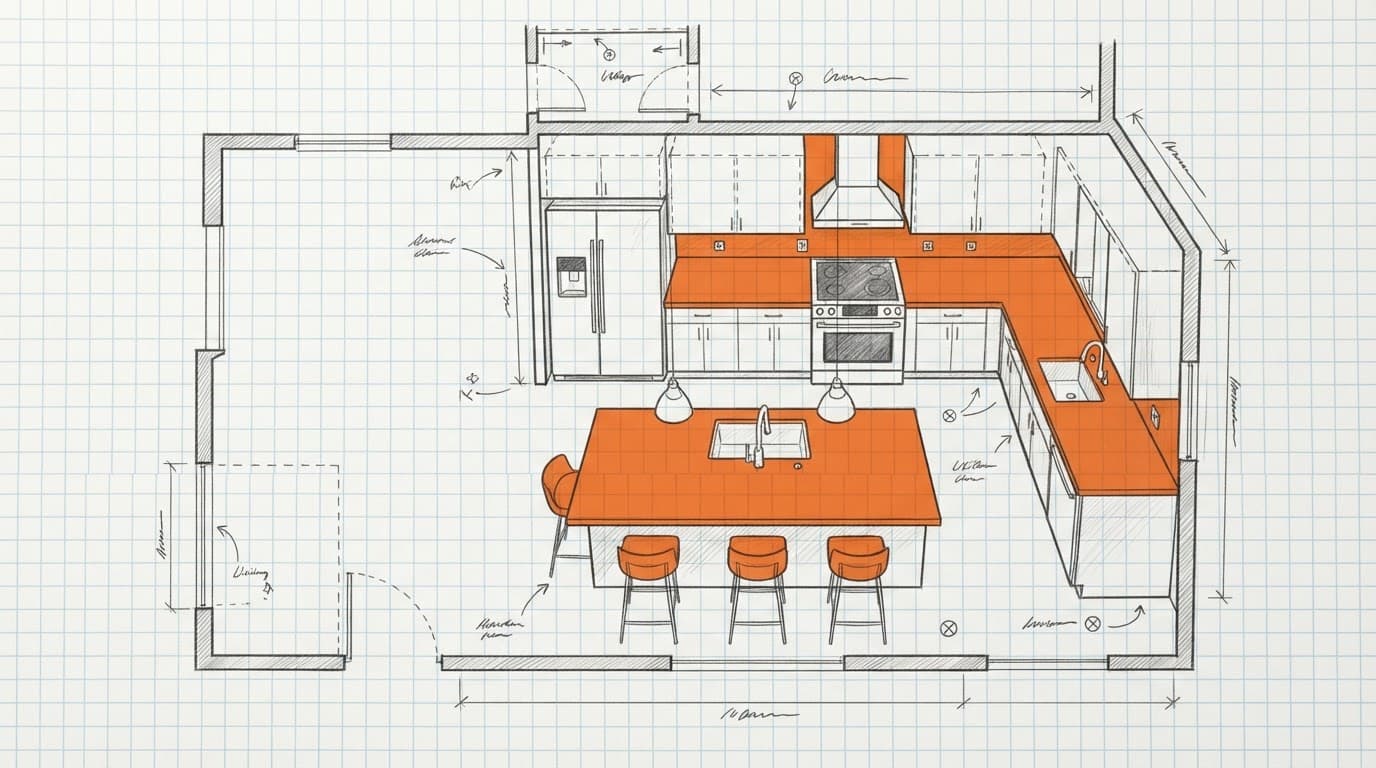
For each wall run, add the cabinet widths together before placing the order. Compare the total with the planned kitchen cabinet sizes. The remaining space becomes the allowance for a filler strip, panels, or design adjustments.
For example, if a 120-inch wall has cabinets totaling 114 inches, the remaining space is 6 inches:
120 - 114 = 6 inches
If the design uses two equal filler strip pieces, each could be 3 inches wide. If one end needs more clearance for a door or corner, the pieces may need to be different sizes. The final filler strip width also depends on door overlays and the manufacturer’s installation requirements.
L-shaped and U-shaped kitchens need extra care. Two cabinet runs cannot always meet directly in a corner because doors and drawers need room to open. A corner cabinet, blind corner, or corner unit may use more space than expected. Use the cabinet manufacturer’s corner specifications instead of drawing a simple square and assuming the layout will work.
When walls are badly out of square, measure the distance between opposite walls at the floor, counter, and ceiling. If the numbers change, the room needs planned fillers or scribe pieces. Small gaps can be handled with fillers. Large differences may require wall or floor corrections before cabinet installation.
Avoid Common Cabinet Measurement Mistakes
Many cabinet problems begin with measurements that looked close enough. They usually were not.
- Measuring the old cabinet fronts instead of the walls creates inaccurate cabinet runs.
- Taking one measurement per wall misses bowed walls, uneven floors, and sloping ceilings.
- Forgetting the toe kick, end panels, crown molding, or countertop overhang leaves too little space.
- Ignoring door swings can create collisions between cabinet doors, appliances, and room doors.
- Ordering before confirming appliance specifications can lead to the wrong openings.
- Assuming every corner cabinet has the same footprint can disrupt an L-shaped or U-shaped layout.
- Relying on standard cabinet sizes without checking the actual manufacturer dimensions can create unwanted gaps.
- Starting demolition or ordering materials before the final layout is approved increases the chance of rework.
We recommend measuring twice, then checking the numbers a third time before ordering. DIY measuring is useful for planning, but taking on every part of a kitchen remodel can create delays or uneven results. Professional measurements are especially helpful when walls are out of square, utilities need to move, or the layout includes multiple corner units.
Frequently Asked Questions
How many times should I measure a kitchen wall?
Measure each wall at floor level, countertop height, and near the ceiling or soffit. Record the smallest usable measurement when the wall is bowed or the corners are not square.
Should I measure cabinets or the walls?
Measure the walls, openings, and available spaces rather than relying on existing cabinet dimensions. Cabinet fronts and boxes may not show the room’s actual usable measurements.
How do appliances affect cabinet measurements?
Appliances determine cabinet openings, clearance, ventilation, and utility locations. Use the manufacturer’s installation sheet whenever possible, and record the appliance depth with doors and handles included.
Do standard cabinet sizes guarantee a proper fit?
No. Standard sizes help with planning, but manufacturers use different cabinet widths, corner dimensions, fillers, and panels. Compare the room measurements with the exact product specifications before ordering.
When should I have my measurements professionally checked?
Have the final plan checked before ordering, especially when walls are out of square, utilities need to move, or the layout includes multiple corner units. Professional verification can help prevent installation delays and expensive changes.
Make the Final Cabinet Measurements Count
Accurate planning protects your budget, preserves storage space, and makes installation easier. Measure the walls at multiple heights, record every opening and utility, check appliance specifications, and draw the complete kitchen layout before choosing cabinet sizes.
When you measure kitchen cabinets carefully, you have a stronger starting point for a beautiful and functional result. Confirm the final kitchen cabinet sizes after accounting for standard dimensions, fillers, trim, door clearance, the toe kick, and your room’s real shape. These details help new cabinets fit properly and create a finished kitchen you can enjoy for years.